Integration configuration
To configure an access token in NetSuite for SOAP communication, especially when there is no integration user yet, involves several steps that include creating an integration record in NetSuite, setting up a role with the necessary permissions, creating an integration user, and then generating the access token. Below is a step-by-step guide:
1. Create an Integration Record in NetSuite
- Log in to your NetSuite account as an administrator (https://system.netsuite.com/).
- Navigate to Setup → Integrations → Manage Integrations → New.
- Fill in the Name of the integration and ensure that State is enabled.
- Check the Token-Based Authentication to use token-based auth along with SOAP.
- Save the integration. Note the Consumer Key and Consumer Secret presented upon saving; these are important for authentication.
Remember to save the Consumer Key and Consumer Secret for later.

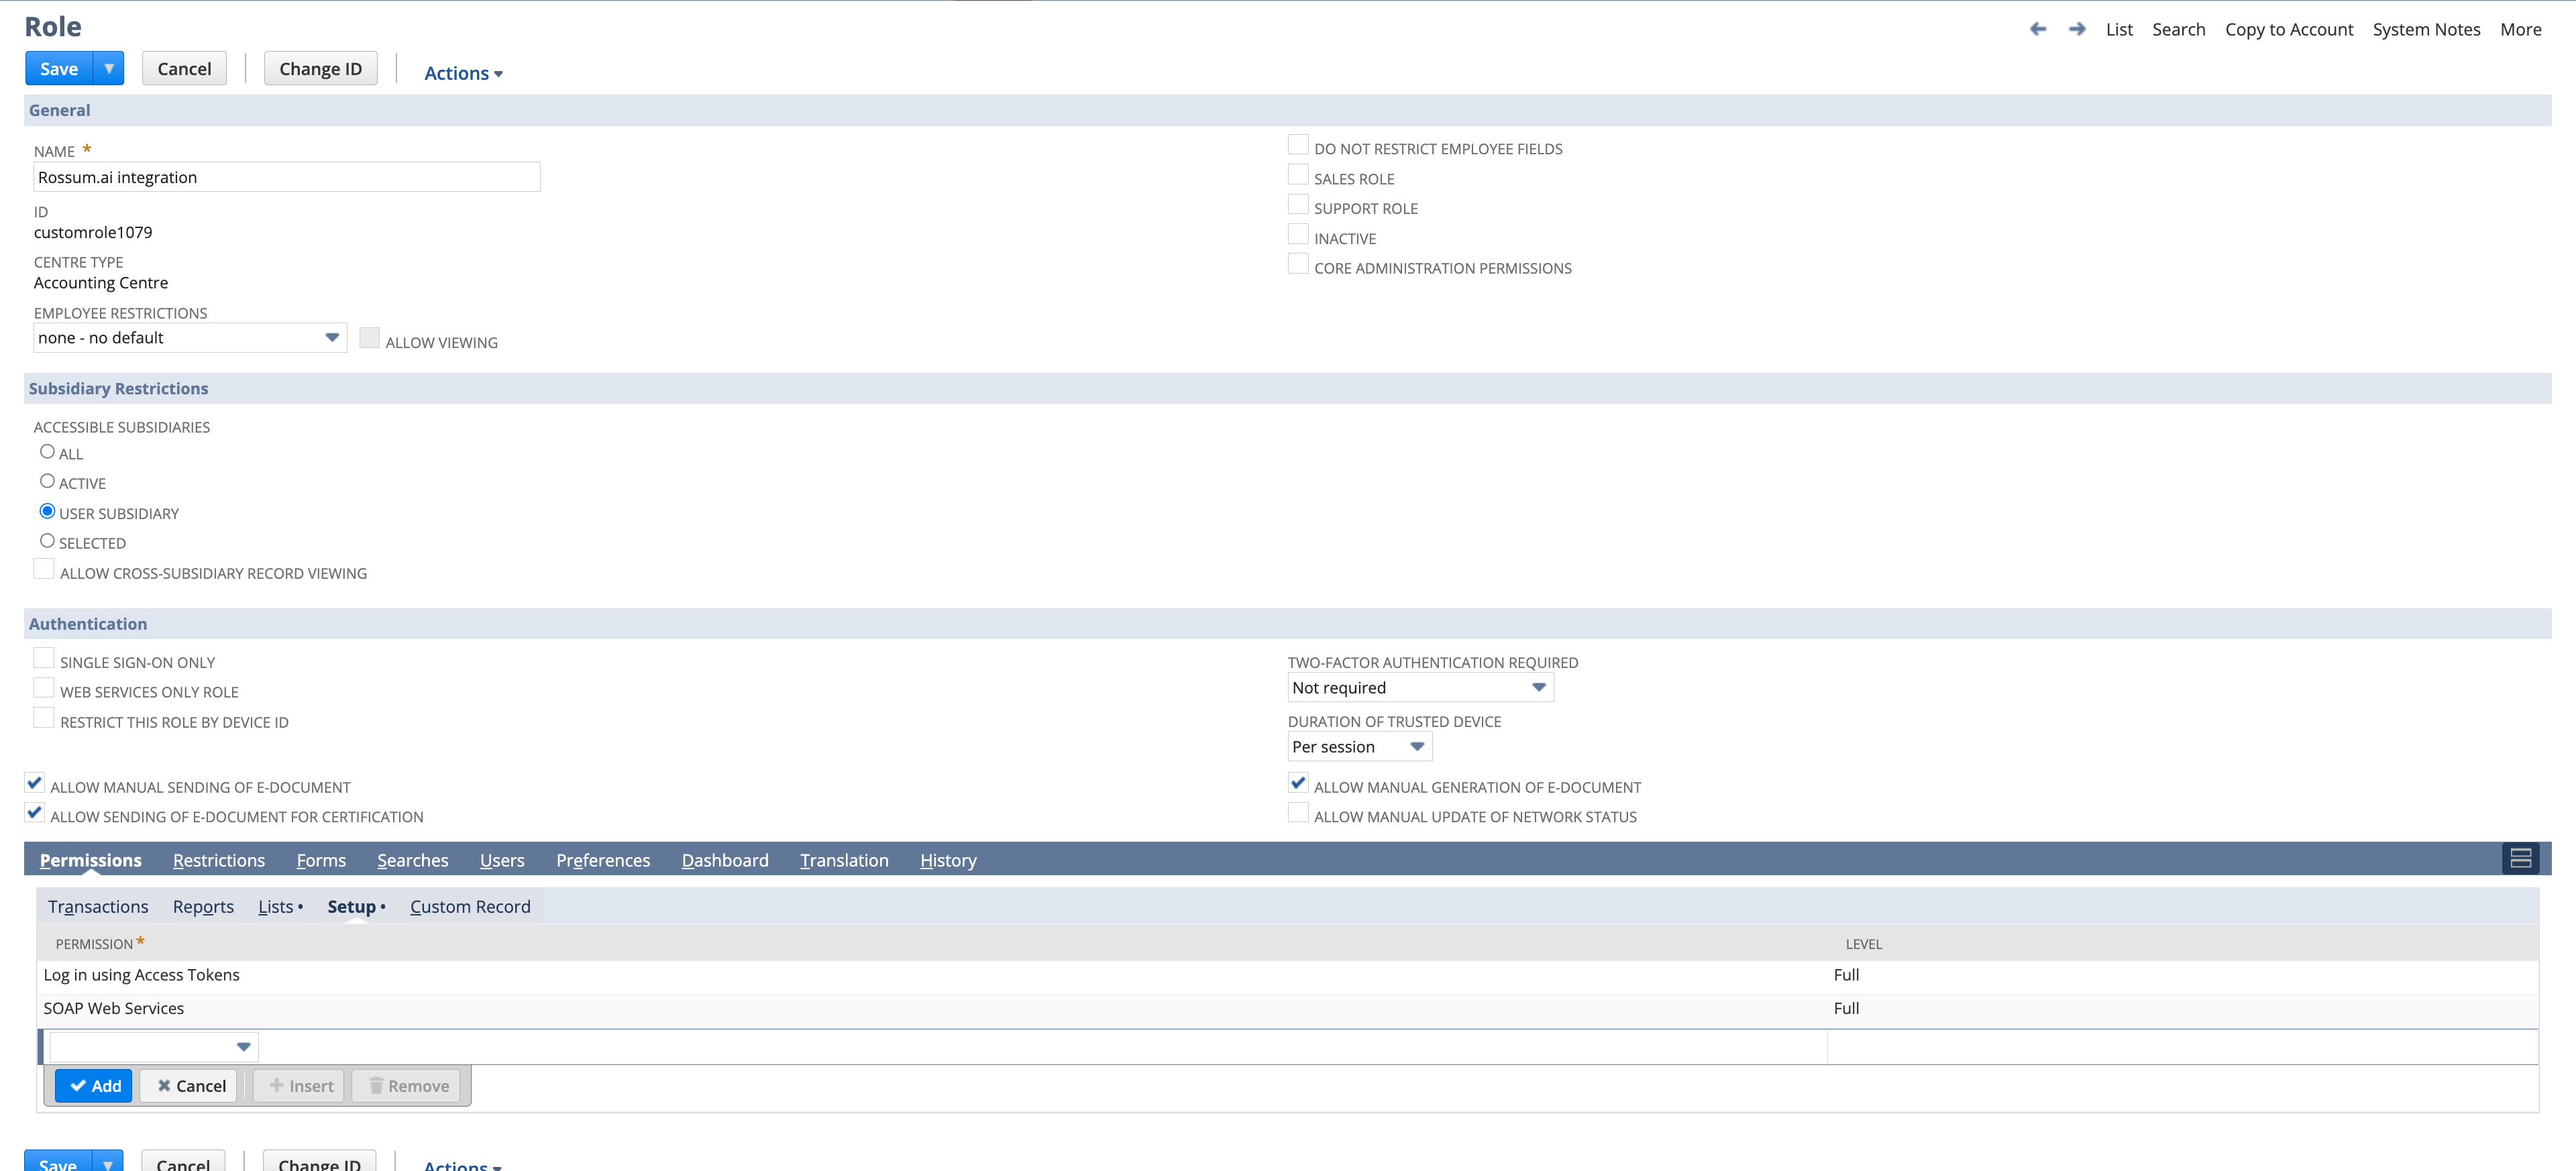
2. Create a Role with necessary permissions
- Navigate to Setup → Users/Roles → Manage Roles → New.
- Provide a Name for the role and assign it permissions necessary for the operations the integration will perform. At a minimum, for SOAP communication, you might need permissions like SOAP Web Services, Log in using Access Tokens, and any specific permissions related to the data you wish to access or modify (Lists).
- Save the role.
3. Create an Integration User
- Go to Lists → Employees → Employees → New.
- Fill in the necessary information for the user. Under the Access tab, ensure you Check the Give Access option, set a Password, and Assign the Role you created earlier.
- Save the employee record.
While it is technically possible to reuse already existing employee account, we recommend creating a new one for the integration. This way, the integration won't get broken when the employee account gets deactivated.
4. Generate the Access Token
- Navigate to Setup → Users/Roles → Access Tokens → New.
- Select the Application Name (the integration you created in Step 1), the User, and the Role you've assigned to this integration.
- Save to generate the Token ID and Token Secret.
Remember to save the Token ID and Token Secret for later.
5. Use the Access Token in SOAP communication
With the Consumer Key, Consumer Secret, Token ID, and Token Secret, you can now configure Rossum.ai SOAP client for communication with NetSuite:
Secrets:
{
  "consumer_key": "…", // change
  "consumer_secret": "…", // change
  "token_key": "…", // change
  "token_secret": "…", // change
  "rossum_username": "[email protected]", // change
  "rossum_password": "…" // change
}
Import/Export configuration:
{
  "netsuite_settings": {
    "account": "XXX_SB1", // Case sensitive!
    "concurrency_limit": 4,
    "wsdl_url": "https://XXX-sb1.suitetalk.api.netsuite.com/wsdl/v2024_1_0/netsuite.wsdl",
    "service_url": "https://XXX-sb1.suitetalk.api.netsuite.com/services/NetSuitePort_2024_1",
    "service_binding_name": "{urn:platform_2024_1.webservices.netsuite.com}NetSuiteBinding"
  }
}
Account ID (account) can be found under Setup → Company → Company Information.
Important notes
- Ensure your NetSuite account has the Token-Based Authentication feature enabled. This can be checked and enabled under Setup → Company → Enable Features → SuiteCloud.
- The permissions assigned to the role will dictate what operations can be performed through the SOAP API. Make sure to adjust these according to the least privilege principle, granting only the permissions necessary for the tasks the integration will perform.
This process sets up a secure method for your application or integration to communicate with NetSuite using SOAP. If you encounter any specific issues during setup or need more detailed instructions, NetSuite's official documentation and support resources can provide additional guidance tailored to the latest platform updates and best practices.